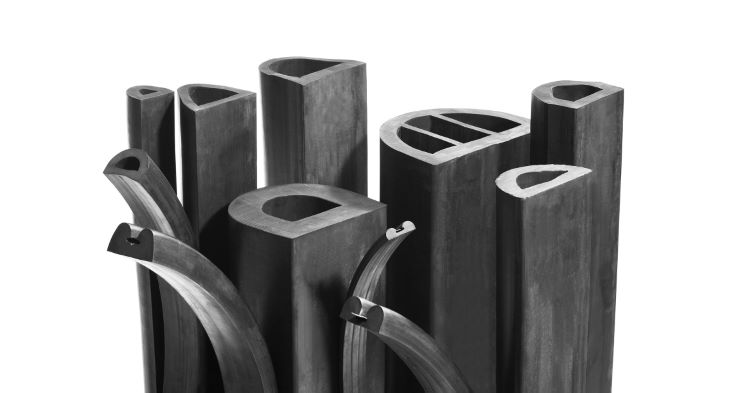
Installing Rubber Fenders & Buffers
Please note, whilst we’ve done our utmost to ensure that the following instructions are accessible and relevant to as many installations as possible – including boat rubbing strakes, D fenders, rails and bumpers - your specific installation and use may require additional steps and processes. If you require any additional assistance or guidance, feel free to complete our contact form and we’ll be back in touch as soon as possible.
Tools, Measurement & Installation Preparation:
Before taking on any maintenance and replacement work, it is important to ensure that you have all the necessary replacement materials and tools for the work accessible, laid out and available to hand.
All fenders and fixings should already be measured and cut to length, with pre-drilled holes to assist with location and fitting. In order to take accurate measurements for replacements, we would recommend removing the existing bumpers and taking measurements from them directly. These lengths will already have accounted for any potential installation anomalies such as the hull curvature, length and width.
If you are installing a fender in a new location, where one hasn’t been before, ensure your measurements are as accurate as possible and that you’re taking into account the holes for screws/bolts/anchoring points with the fitting. With a full set of measurements and instruction, Walker Rubber can predrill and countersink the holes for your order, upon request.
For the installation, you will require:
• Required fender lengths, with necessary holes drilled.
• Stainless steels bolts/screws.
• Screwdrivers/spanner/socket tools to adjust your choice of bolt/screw
• Fixing bar/strip, cut and pre-drilled to match your fender lengths
• Waterproof adhesive (for marine use)
• Waterproof sealant (for marine use)
• Rubber cord plugs the same diameter as the drilled top hole on the fender if required
Area & Product Preparation:
- Any existing bumper or fender must also be removed, the surface should be clean, smooth and free of any debris, along with the removal of any old adhesive and oils from the surface. This will help to ensure a clean and solid adhesion with the new fender.
- Run a dry installation/sense check - to confirm that the fender size and hole locations match up with your planned placement - and ensure that any fixing bars and strips fit and line up as expected. If there are any issues at this point, you will need to cut or drill your fender - or drill additional holes in the location - as required.
- Once you are confident that your product, holes etc. are all aligned as needed, you are ready to install and secure your fender.
Installation:
- Run your fixing lengths of fixing strip inside the fender, lining the holes up as you do so.
- Starting at one end of the fender length, pass your bolt/screw through the holes and tighten to secure in place, whilst supporting the weight of the material. Don’t fully tighten the bolt at this point, as you’ll still need some give in the connection to assist with lining up the remaining bolts. If the fender is being added for marine use, it’s recommended to add sealant to each of your screws/bolts, ahead of installation. This will help ensure a watertight seal around the connection.
- Using your first anchoring point as a pivot, manoeuvre the fender to line up the next hole in the fender with the next hole on your boat/wall/location. Once aligned secure the additional bolt.
- Repeat this process until you’ve fully secured your length of fender in place.
- Once the full length of the fender has been installed, you can return to each of your bolt/screw fixings and fully tighten them up in situ.
- This process (steps 1-5) must now be completed for all other lengths of fender/bumper until you’ve secured all of your desired material.
- Now that you’ve securely mounted your fender, using your rubber cord, you can go back to each of the holes and fill them.
- Cut the cord lengths, so that they reach the head of the bolt/screw but also cover the opening of the hole. Once cut to the correct length, these can be secured in place using adhesive (this should be marine grade if used around water) and can then be trimmed flush to the face of the bumper.
- Once the fenders have all been secured and finished with the cord plugs, the installation is complete.
If you’re having any issues with sourcing a fender for your installation or need a bespoke profile that you’ve been unable to find ‘off the shelf', then please get in touch. With over 2000 profiles already available, and an in-house engineering team, we’re perfectly placed to manufacture the right product for you.